Legacy Advanced Search
Reports Menu Item -> Queries -> Advanced Search 52
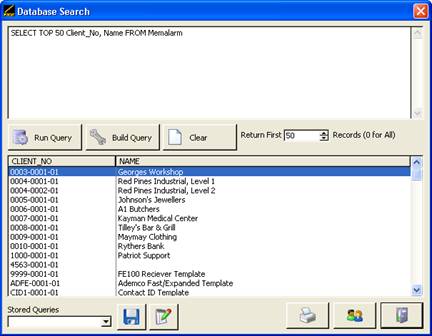
The Legacy Advanced Search feature allows operators to filter records in the Database Search window by using standard SQL queries. The results of the SQL query are then displayed in the bottom pane. SQL queries are beyond the scope of this manual, and are not covered by the patriot support assurance policy but there are many books and online references available on how to write SQL queries. Generally this window will be used to report on an unusual set of data which a standard report is not capable of.
Enter the SQL query in the top pane, click run query to view the results in the bottom pane.
To help build a new legacy client query:
To assist in writing a SQL query which queries the client table (memalarm), click on the Build Query button to build a new query. The Enter Search Criteria window will appear.

The Enter Search Criteria window provides a graphical “user-friendly” way of creating SQL queries. This window allows the operator to search particular fields of a client record by entering in criteria and clicking the Save button.
For example, to create a list of clients located in a particular city, simply select the city from the City drop-down box then click the Save button. This will then create and run the following SQL query:
Where IDCITIES = 6 references the city chosen from the drop-down box.
The results of the query are then shown in the bottom pane. To view a client’s record from this window, simply highlight the client and click the View Selected Client button.
By default the query will return the first 50 matching records. To alter this value, change the number of records to be returned in the Return First … Records field.
If the query contains a ClientNo or Client_No field, the View Selected Client button will become enabled, allowing quick access to the highlighted client’s details. Changes cannot be made to the client from here.
Clicking on the Print Search Results button prints the result of the query. The Report Preview window will appear allowing a preview of the report content before printing.
Once a query has been built, it can be saved by clicking on the Save Query button to the right of the Stored Queries drop-down box. An input box will appear asking you to enter a descriptive name for the query.
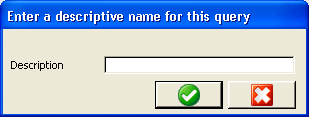
Type a suitable name in the Description field then click the OK button. A message box will appear reporting that the Query has been stored.
Once saved, the query is added to the Stored Queries drop-down box.
Note: You must close and then reopen the Enter Search Criteria window before you can select and run a newly saved query.
Once a query has been saved it can be run simply by clicking on the Stored Queries drop-down box and selected the required query using the left mouse button. The chosen SQL query will be displayed in the top pane, with the query results automatically displayed in the bottom pane.
To edit or delete a saved query click on the Edit saved Queries button. The Browse Stored Queries window will appear.
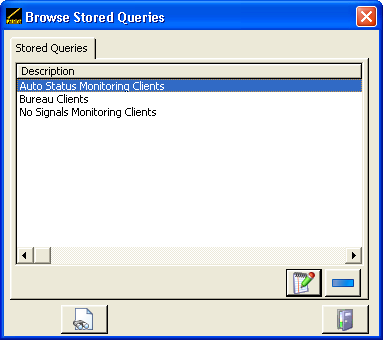
To edit a saved query simply highlight the stored query you wish to edit then click the Change button. The Changing a Queries Record window will appear. Make the required changes then click Save.
To delete a saved query, highlight the stored query you wish to delete then click the Delete button. A window will appear asking “Are you sure you wish to delete the highlighted record”. Click Yes to confirm, or click No to cancel.
The View button opens the Selected Query window displaying the content of the highlighted query.